Guide to 3D Printing (on a Budget)
April 9th, 2022 by Jorge Zhang
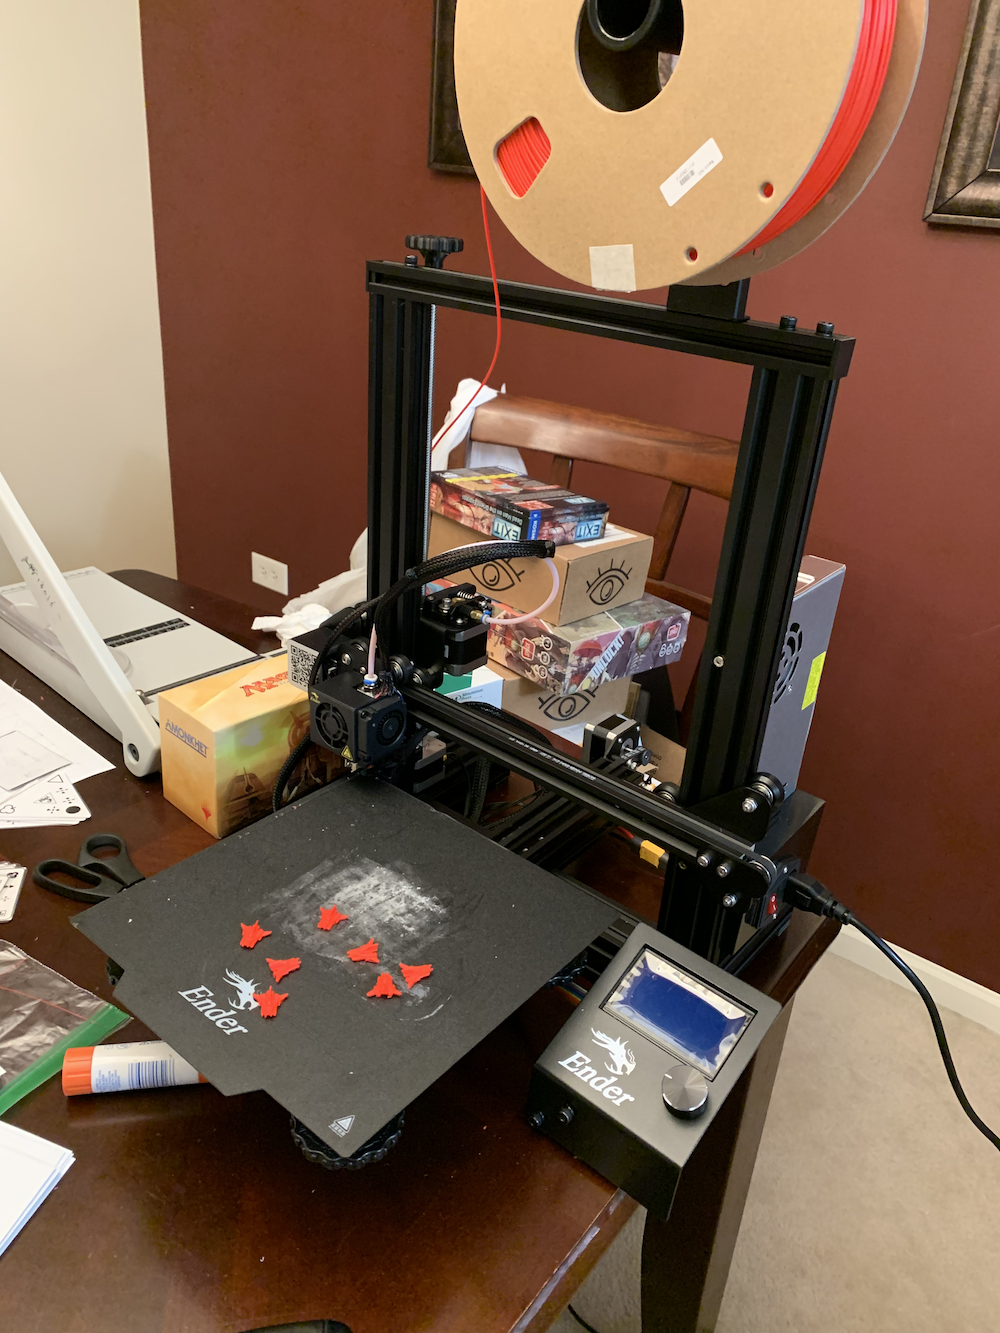
3D printing used to be expensive and inaccessible. When I was in high school, an entry level 3D printer cost roughly $3000 (2014).Nowadays, you can get an entry level 3D printer for less than the cost of a normal printer. I brought my Creality Ender 3 Pro from my local Microcenter for just $60 by applying this $100 off coupon to a pre-opened product. It ended up being about $120 after I brought filament and a 3 year warranty.
Assembly
 The assembly guide left a lot to be desired. It was mostly pictures, like the assembly instructions for something from Ikea. I recommend following this video for assembly instructions.
What to print
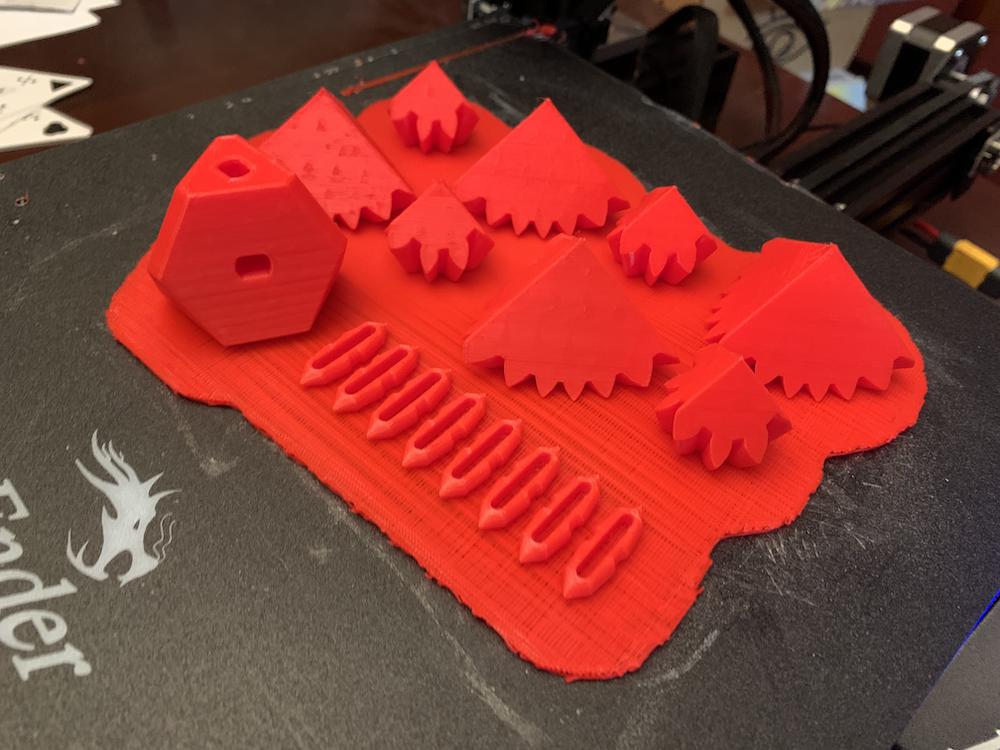
I mostly print toys, figurines, board game pieces, puzzles, and anything that looks cool. I have also dabbled in 3D printing my own 3D models that I made in Blender. Here is a video with some good suggestions.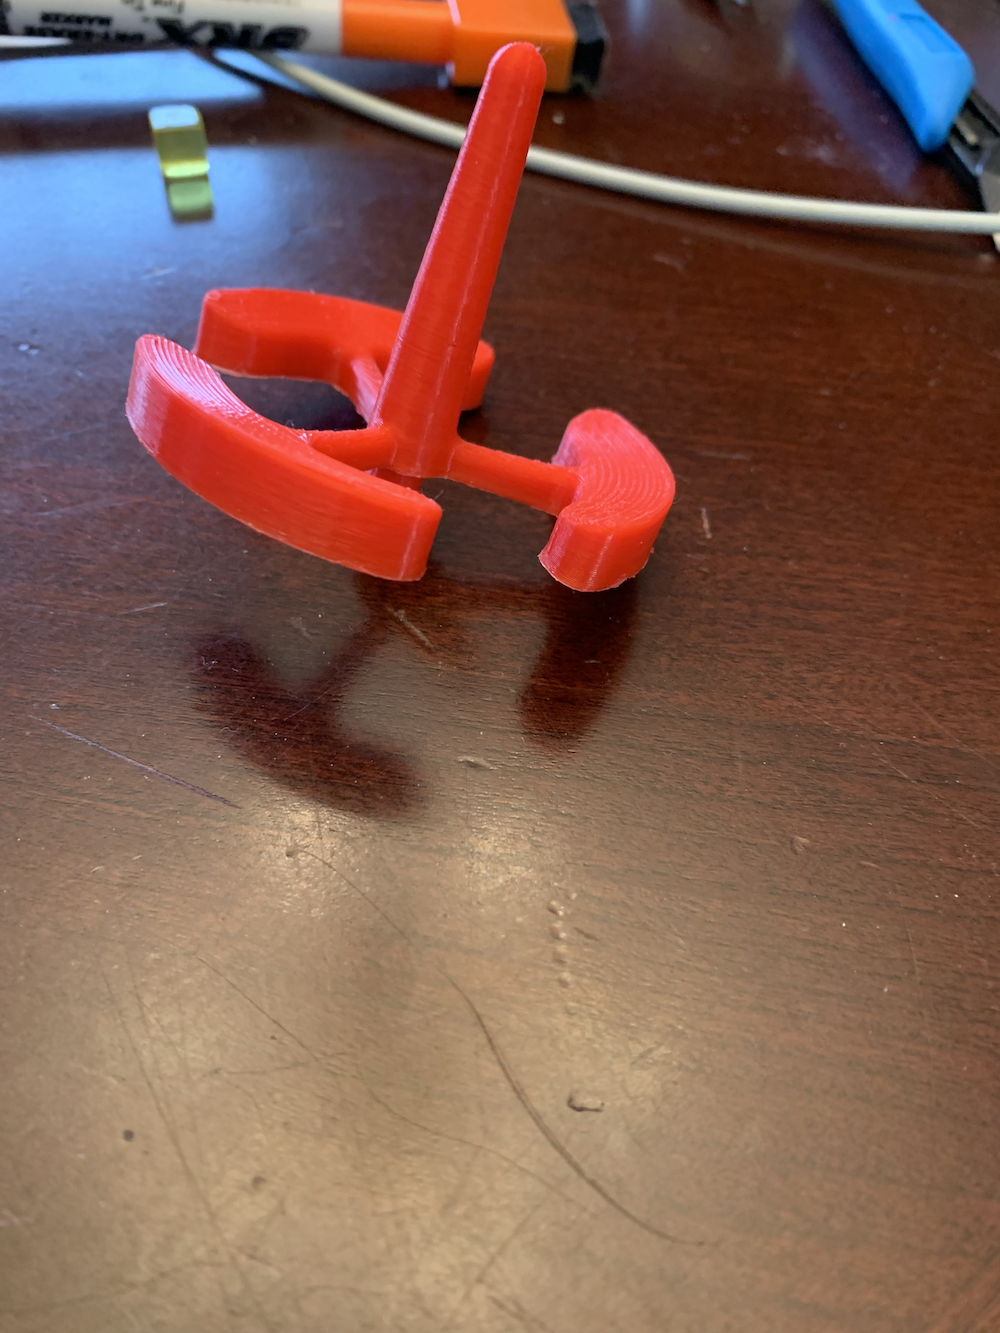
What every beginner should know/do
- If you are getting under-extrusion (I was- basically when not enough filament comes out of the extruder), set your E-Steps to 100 (It is in the motion menu). You could calculate the exact value, and you can easily find some guides on how to do that online, but that seemed like a lot of work so I basically just adjusted it until it seemed to work ok.
- Make sure you level the printing bed by adjusting the knobs on the bottom of the bed. I used one of these:
 , and it seemed to work fine.
 - If you are having trouble with bed adhesion (your print is not sticking to the build plate during printing), make sure you clean your build plate. Try not to touch it too much because your skin oil may interfere with the adhesion. I also like to use a glue stick to increase adhesion. You don't want to use too much glue, so one trick is to use a wet cloth to spread the glue around.
- Your prints will frequently fail, especially at first, and that is ok and normal. 3D printing requires a lot of patience, troubleshooting, and problem solving. When your print fails, try to identify why it failed. Then, adjust the settings and try again.
- You will need a slicer- something to convert STL files into a .gcode file. I highly recommend Ultimaker Cura.
- Make sure to set the extruder temperature for printing in Cura. The default temperature is 200 for some reason, but the filament I brought (and I think most filaments) required at least 215 degrees. The required temperature will be written on your spool.
- If your print has overhangs, I highly recommend using "Tree" supports. I like them more than other supports because I find that they do the job but aren't too tough to remove.
- Use rafts (I almost always use them. Rafts are when you print a small platform to print on, which greatly helps adhesion to the bed. It's NOT a waste of plastic, it avoids a waste of plastic from a print fail)
- Consider putting your 3D printer in a well ventilated room so that you aren't breathing the fumes.