Today I released a video on my Youtube Channel for Daggers High. It’s an animation that I created that is a how-to-play as well as a play-through of the game.
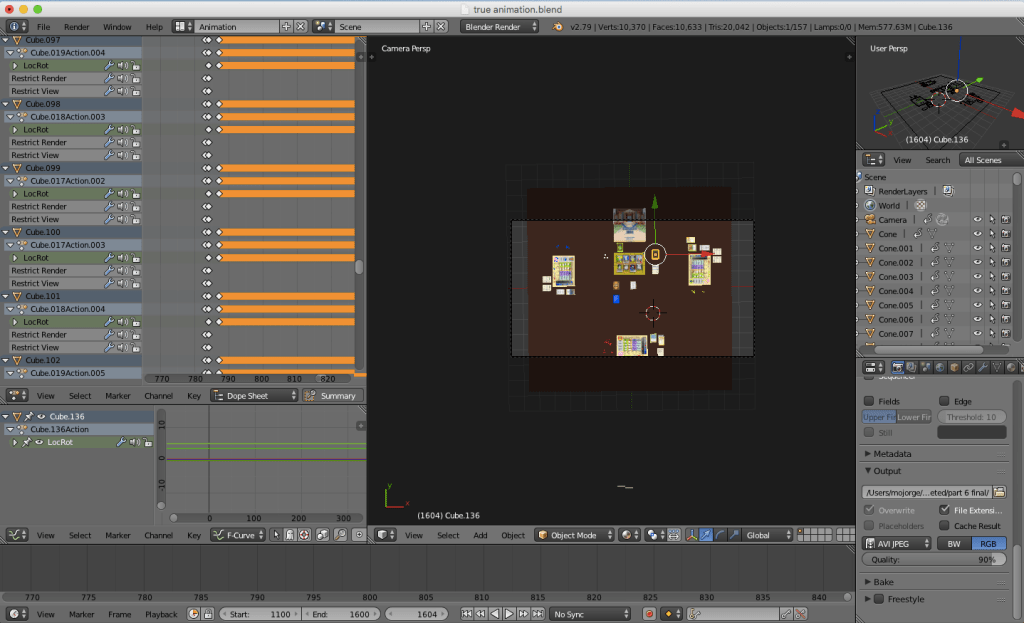
I’m still a newbie to creating animation. It took me a couple hours to make just 1 or 2 seconds of film. I then slowed down this animation so that I would be able to voice-over the animation. This resulted in a pretty clunky video at times. I used a program called Blender, which I used to make my 3D printed heads (read my article about it here). I really love Blender, as it is such a powerful program. While I’ve mostly used it for 3D printing and animation, it can be used to create video-games or physics simulations. What boggles my mind is the fact that the program is completely free: no ads or payment necessary. It offers so much utility though that they could certainly charge people to use it, and it would be well worth the price. Blender looks something like this:
Overall, I was pretty pleased with the end result. As it turns out, I’ve made animations in Blender before for Daggers High. This was back when Daggers High was called “Dagers High,” and there were still sleep cubes in the game. It’s pretty crazy to think how far this game has come:
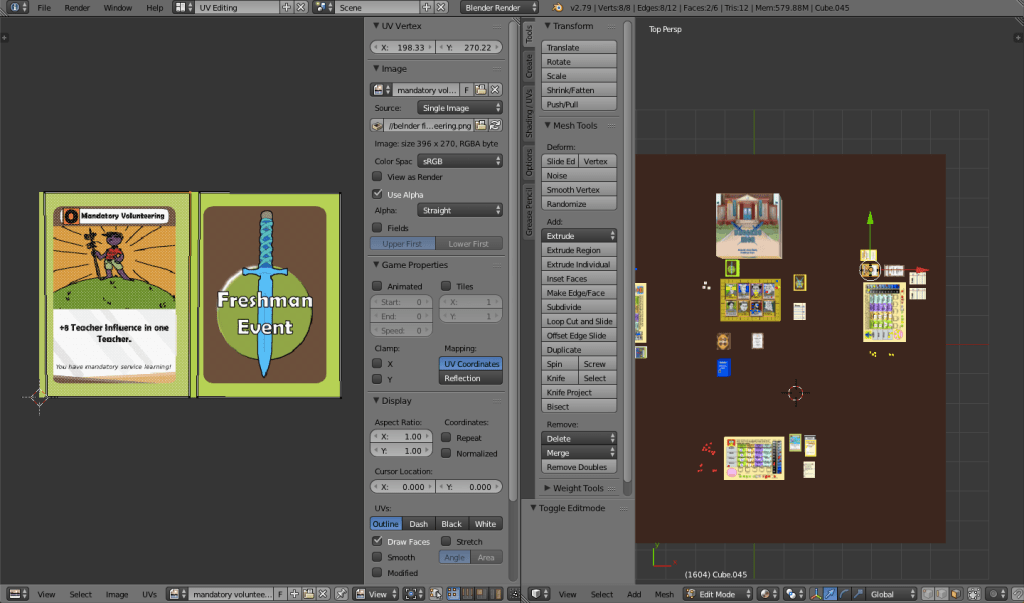
Anyway, making an animation is pretty straightforward. The first thing you have to do is make an object. I would usually start with a cube and stretch it until it was the right size for what I needed. For example, to make the event cards I would flatten the cube. Then, I attached a material to the sides of the card:
The actual animation part is pretty interesting. Every object has a location in 3D- an x, y, and z coordinate. You can move an object or rotate it along those 3 coordinated. Then, there’s the timeline. Objects can be at location A at the 20 frame mark, and at location B at the 40 frame mark. What Blender does, which is super awesome, is automatically animate the object moving from location A to location B.
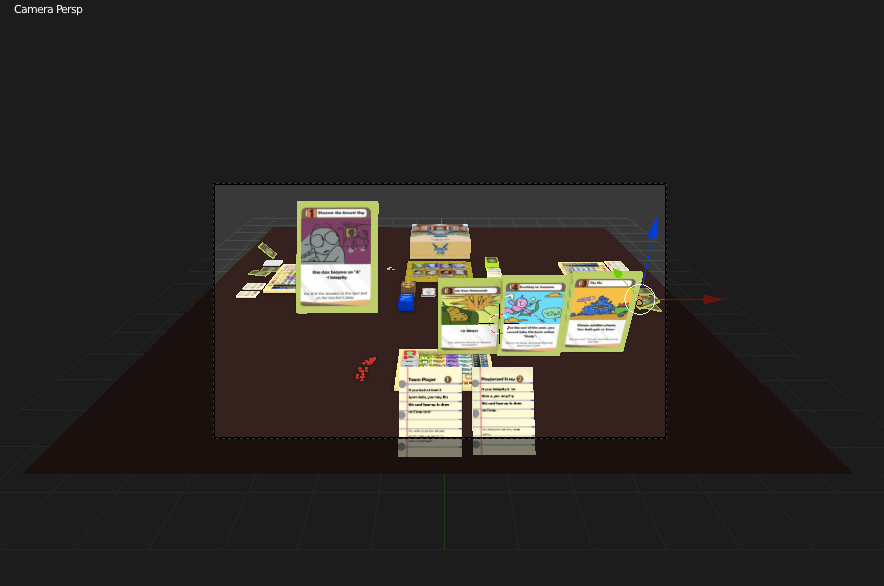
The final step in the animation process was recording this with the “camera.” There is an object called the camera, and it basically is a cameraman. This lets you easily move around and change perspectives. I took advantage of this, and had the camera switch points of view every time a different player had to take their turn.
Have you ever made an animation before? Let me know about it in the comments below! Thanks for reading!